
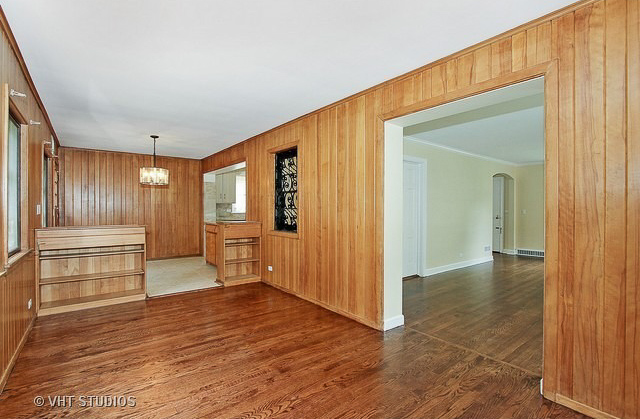
When I first walked into George and saw the old school wood paneling, I knew it has to go. Once we closed on the house, the panels were one of the first items on the list. My husband was on the same page and we are pretty set on it until we started discovering what was under the panels.
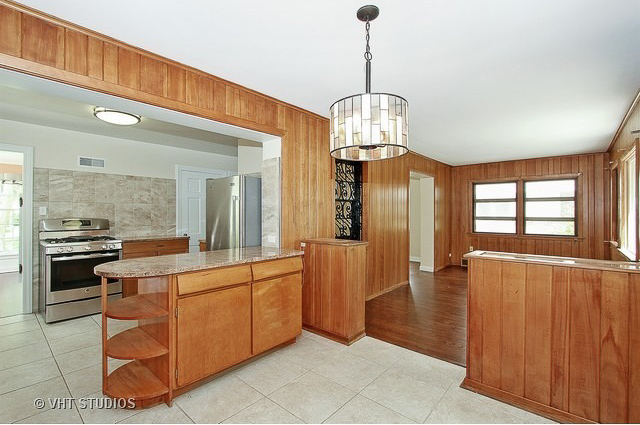
George was built in 1943 and the extension to the kitchen and the living room (full of wood panels) was built 10 years later.
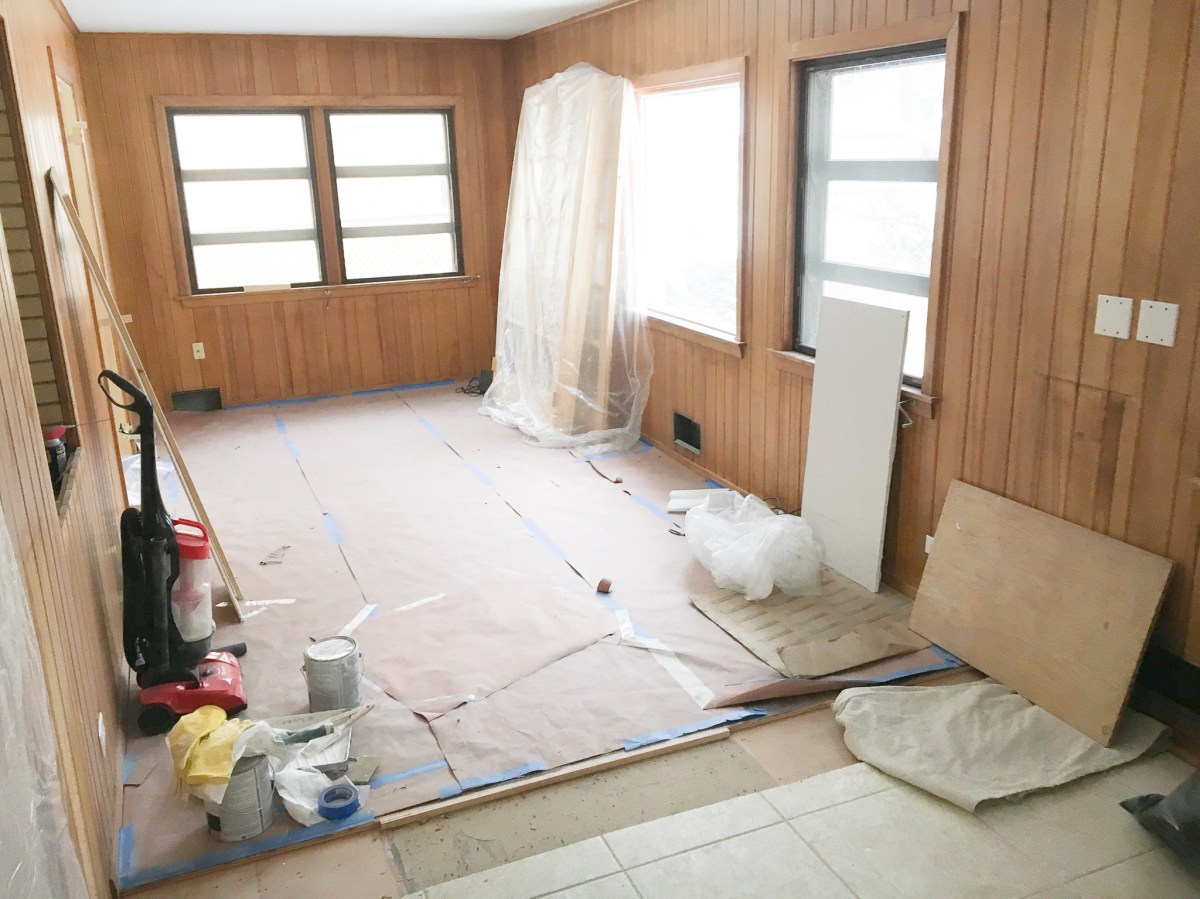
Our first step was to figure out what is under the panels. We first took the window out from the half bathroom. Yes, there was a window in the half bathroom. I found it strange to have a window in the middle of the house and it had to go. Once we took the window out we knew our decision of ripping the paneling out…. went out the window.

Under the panels, we found the brick and we would have to set up furring strips to install the drywall. We were not ready for that, so we decided to paint the paneling. For weeks I read almost every article on the web on “How to paint wood paneling,” and then I created my action plan. Painting wood paneling can be tricky, requires time and patience.
Some days my husband works from home and when we were looking for a house, it was important for us to find one with a room for an office. Even though George has no space for an office upstairs, the extension had potential. It is important to turn on your imagination to the max when you are hunting for a house and walking through all these those different houses.
The extension was a perfect place for an office and a mudroom. First, we build a wall separating the two and added French door from the living room and mudroom into the office (I will write a separate post about the office renovation).
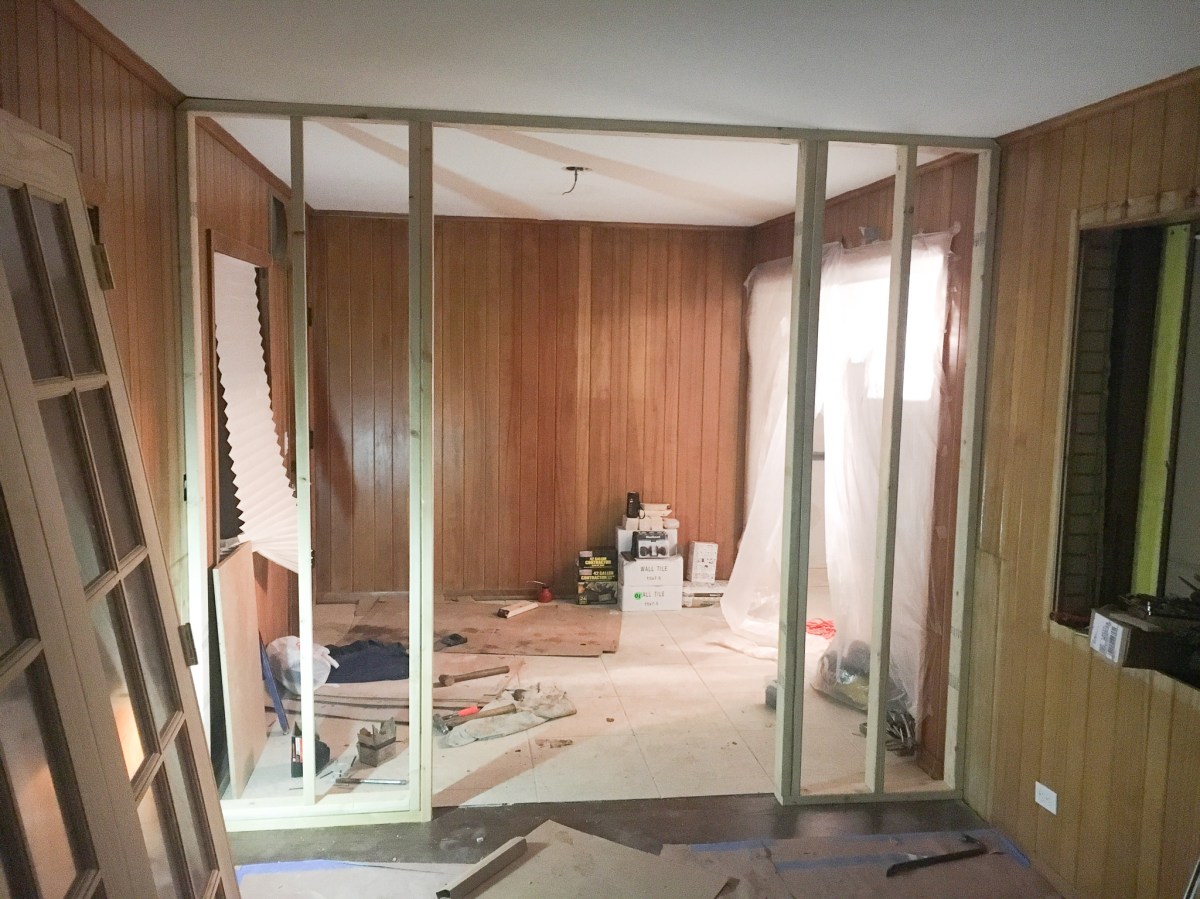
Once, we finished the wall my first item on the wood paneling painting action plan was to deep wash the panels. And.. they were dirty and very greasy, especially the panels by the kitchen. Cleaning them took us two days, but once we were done, the next step was to fill the grooves before painting. I read a lot about this process and most of the recommendations mentioned latex caulk because it’s more flexible and is paintable. That process also took two days. We filled the grooves one by one and did it for the smooth result. It worked! Even before the primer went on, the walls looked much more ‘put together.’
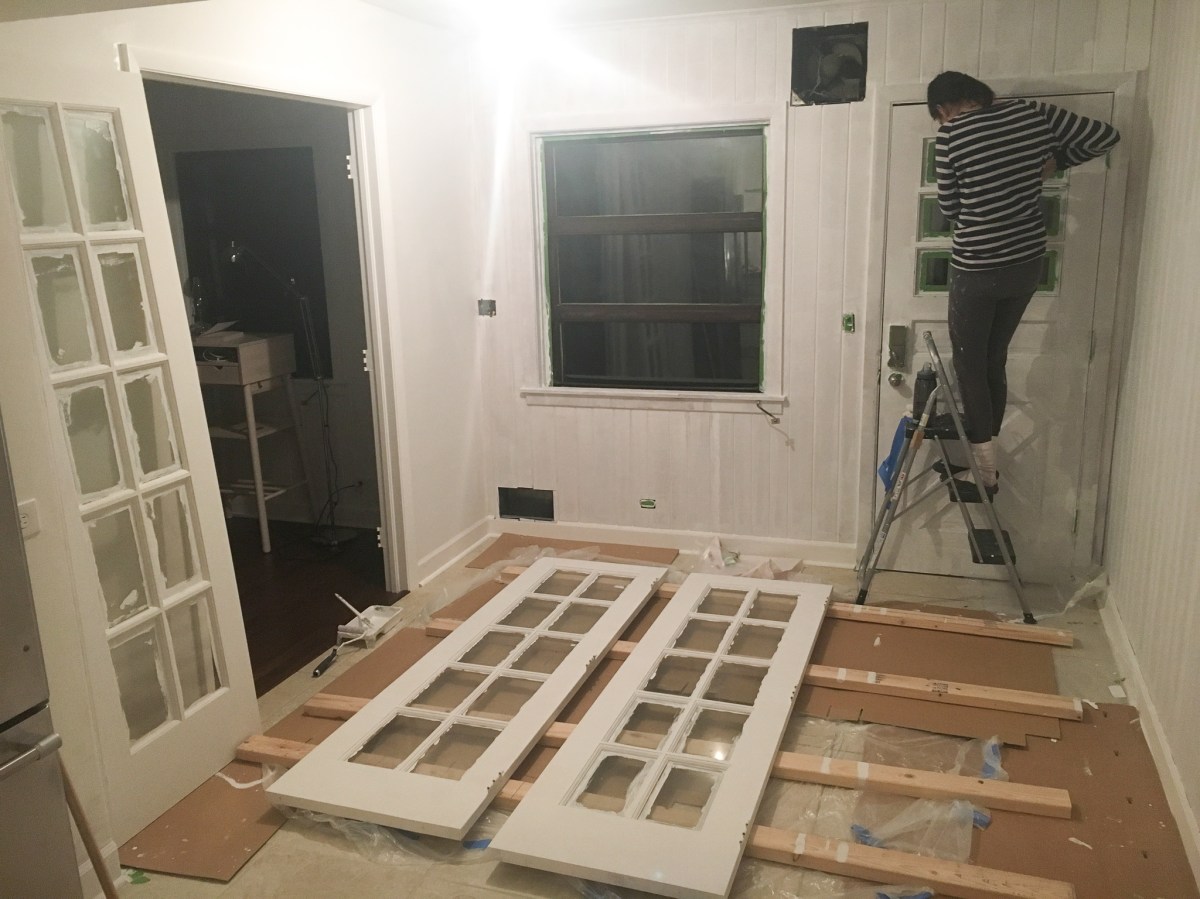
After two days of drying, it was time for a primer. Choosing the right primer is important for a high-quality finish product. Most articles I read advised on using a high-quality stain-blocking latex primer, but couple talked about high-quality oil primer as a better option. We decided on high-quality oil primer, which is more effective on the wood paneling because it can adhere better to the wood panel finishes which are often oil-based themselves. The thickness of the oil primer also helps to block any darkness and prevent color bleeding. We applied two coats of primer. This again was two days process. Like I said this process requires patience, but what doesn’t during a home renovation. After the primer was dried, the paint went on.
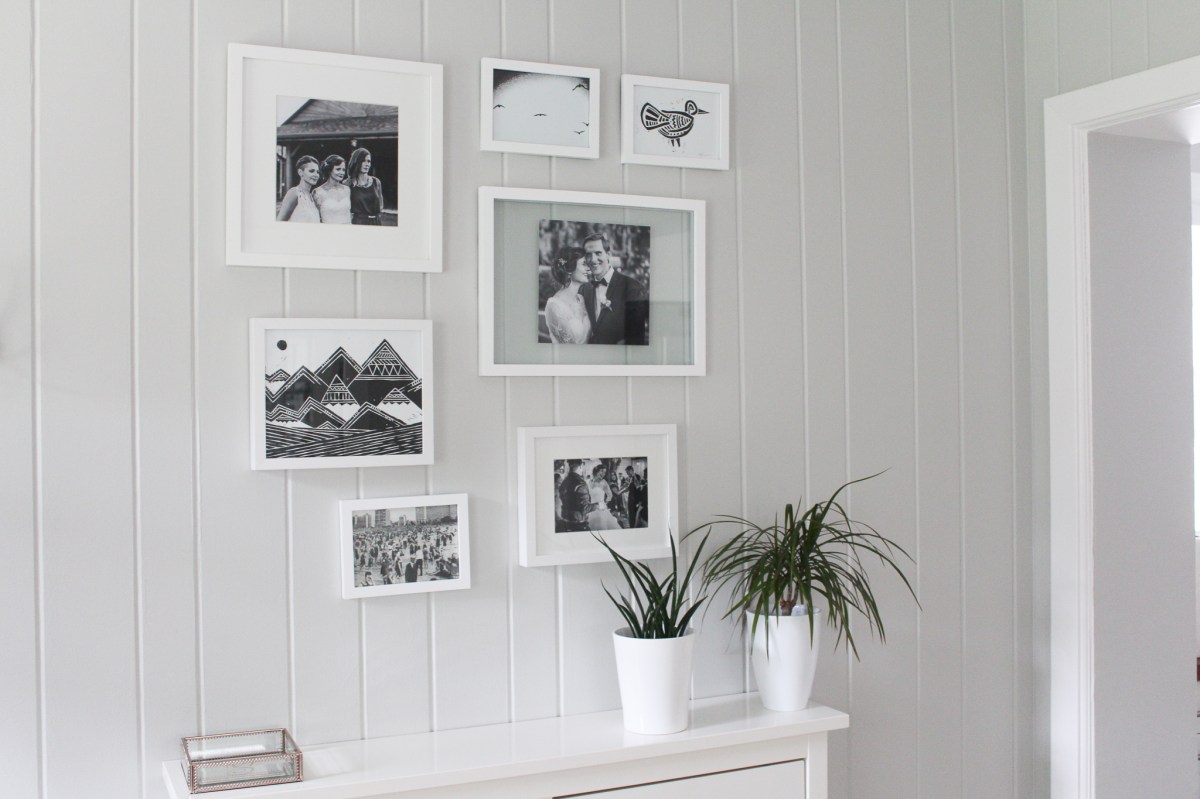
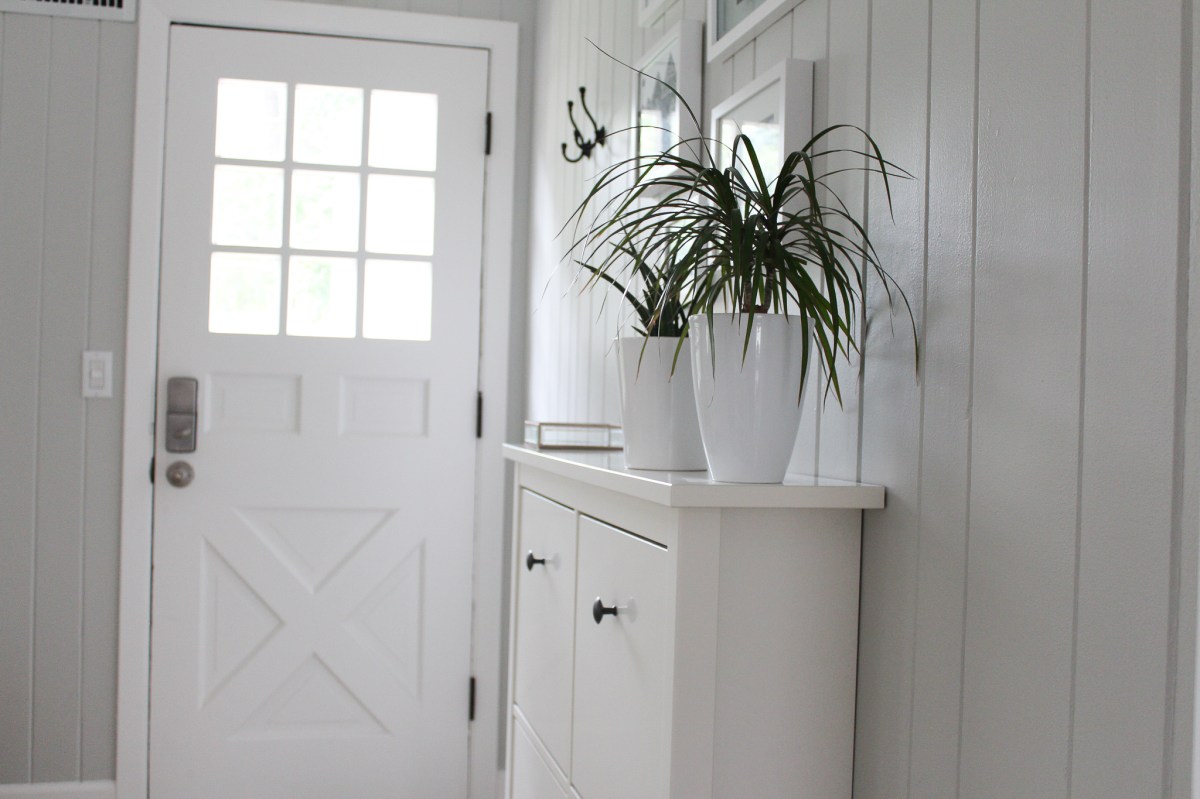
Benjamin Moore’s Grey Owl paint color carries from the kitchen to the mudroom. We were worried how would the color look on the paneling but it turned out beautiful. The paint on window trims, floor trim and door is Behr’s Snow Fall. We picked this white for ceilings, doors, and trims throughout the house.
I have always loved the look of a bench in the mudroom and was inspired by a mid-century bench from West Elm. However, the bench from West Elm was out of our budget, so I went on the hunt to find something similar. This one from Hayneedle is a dupe and it’s half of the price. The cushion cover is removable and I have washed it a couple of times over the last year and it looks brand new. The quality of this bench is amazing and it has been holding up great.
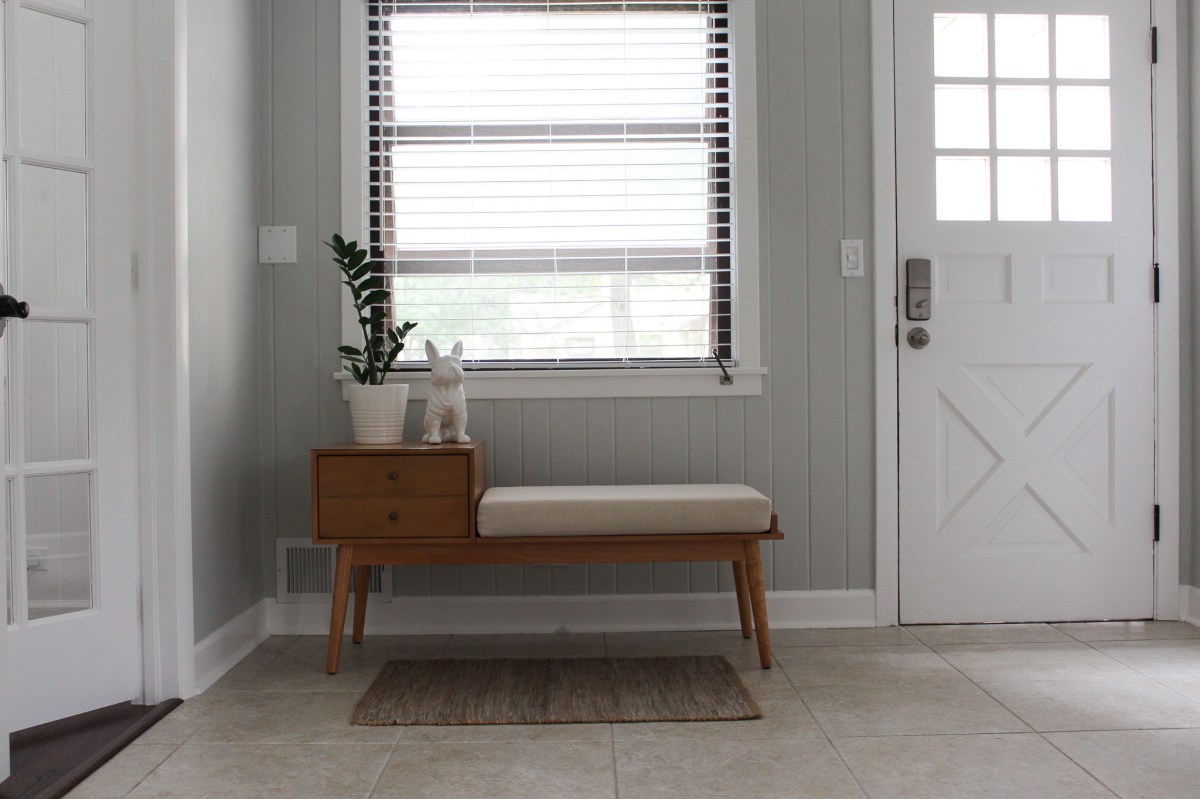

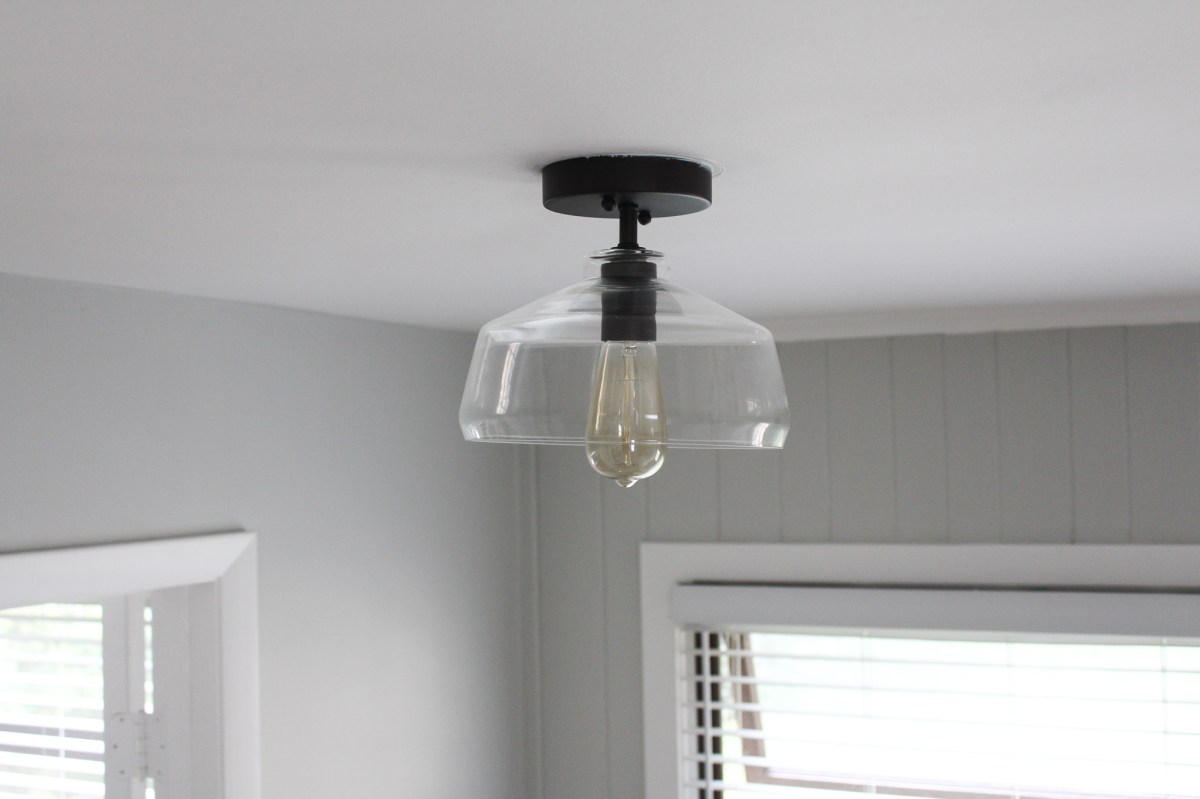
And the mudroom would have not been completed without an Ikea item. We wanted nothing bulky in the mudroom but needed a cabinet to store shoes and we picked this simple one from Ikea. The farmhouse lamp is the darkest item in the mudroom and we love the contrast (Wayfair).
Till next time!
