
Being a European chick, I spent my teenage years breathing IKEA catalogs (each summer waiting for the new one to come out is like the best thing ever!). I don’t remember the exact year IKEA opened close to my hometown in Poland, but what I remember clearly the trips my mom and my sisters took to Ikea. My dad’s siblings live in Germany and when we would visit my mom would make sure that we stop by their local Ikea to compare products and prices. IKEA has always been close to my heart. But, when I came to the U.S. not many people had nice things to say about Ikea.

Always happy at IKEA 🙂
So, when it was time to look for my dream kitchen, I got mixed messages when I announced to friends that I’m thinking of going with an IKEA kitchen. Nonetheless, I’m pretty stubborn and when I set my mind on something it’s pretty much a done deal (well not always). There were a couple of big factors that influenced my decision. First, my sister has an IKEA kitchen, she loves it and when I asked about any cons she didn’t have anything to complain about. Every time I visit Poland and my sister’s apartment, her kitchen always charms me! Second, IKEA kitchens are affordable, efficient and customizable and they seem to withstand the abuse of daily life. I liked the fact that I can design my own kitchen and if I needed help I can always get assistance from IKEA staff. Third, and the final thing that sealed the deal, one of my favorite renovation blog, House Tweaking, has an entire section dedicated to IKEA kitchens (and planning, buying and installation tips). The section shows how people all over the world use IKEA to build their kitchens and I was sold!
The second the old cabinets were removed I started measuring and planning. I spent hours on IKEA’s website figuring out which cabinets will fit our space, took many trips to our local IKEA to inspect and ask questions, and finally we made a trip to purchase our kitchen. The process was very smooth and the staff was super helpful. I had everything planned and a list of all the cabinets and components (handles, sink, countertop) we were planning to buy.
When going with IKEA kitchen, I highly recommend you plan, measure, speak to IKEA rep, measure, measure and use IKEA designing program. The program didn’t work for us only because the layout of our kitchen is very unusual, so I turned to old good paper and pencil. I also recommend you do your own research, read reviews and watch IKEA kitchen reviews on YouTube.
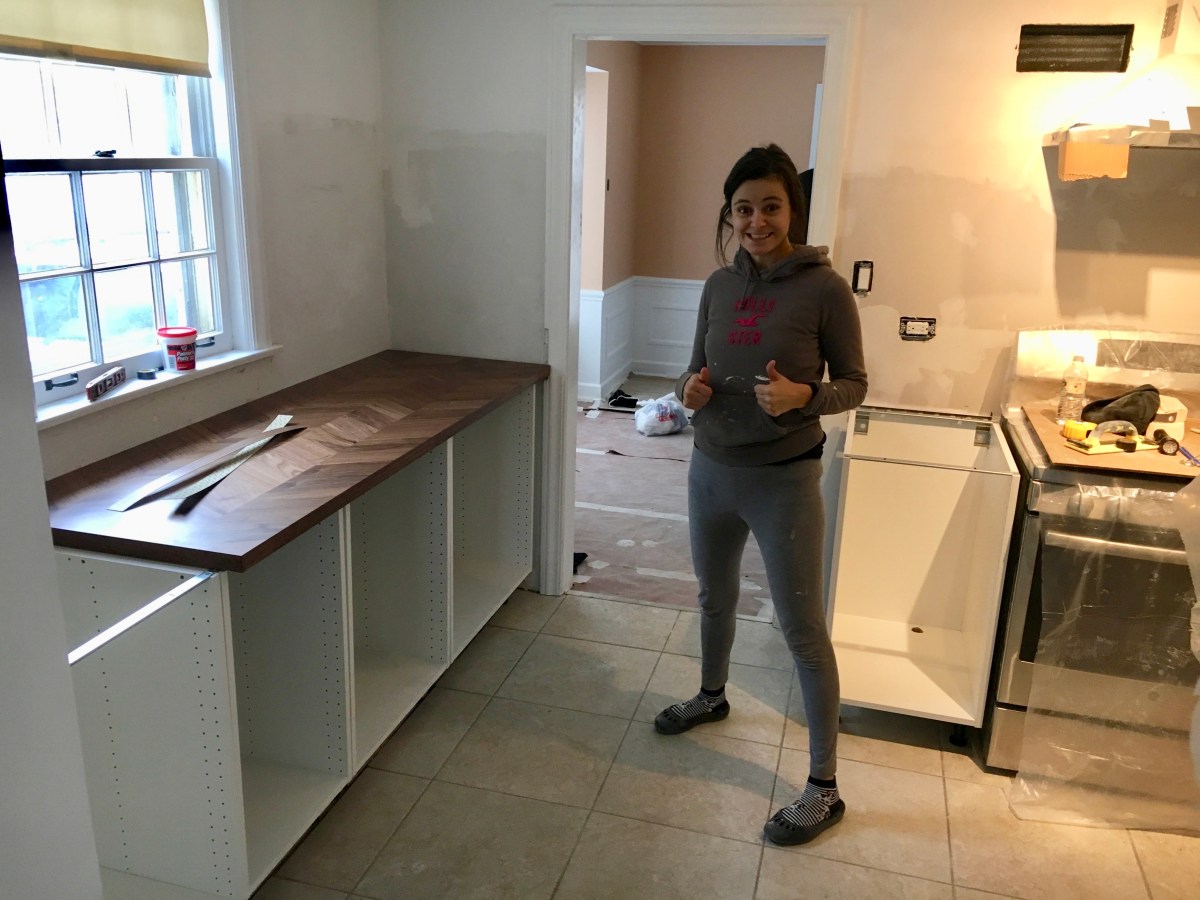
We went with GRIMSLÖV kitchen cabinets, BARKABODA countertop and DOMSJÖ sink. Our sink faucet is also from IKEA but it’s no longer available. We use LANSA handles for all cabinets. I liked how simple and clean they look.
Once we placed the order, we were able to pick up the sink and one of the countertops (we had to order two pieces) from a local warehouse. But, the rest of the order was delivered couple weeks later.
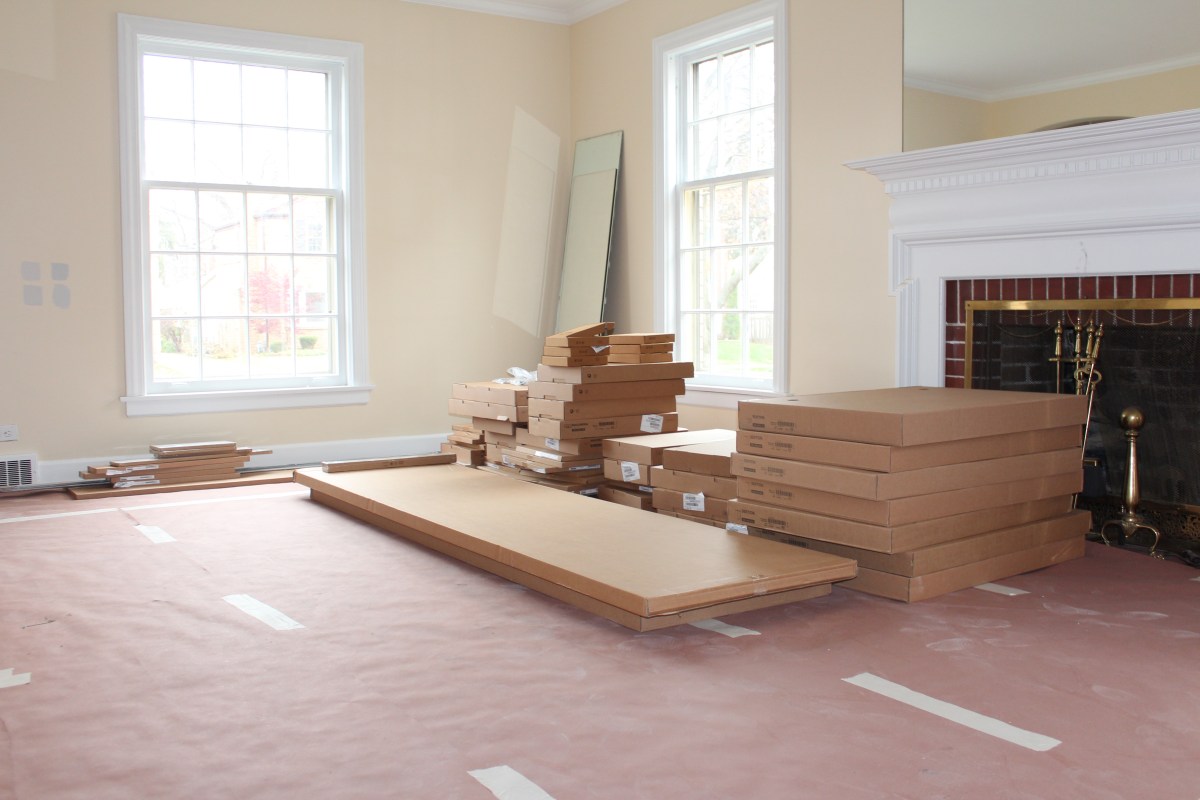
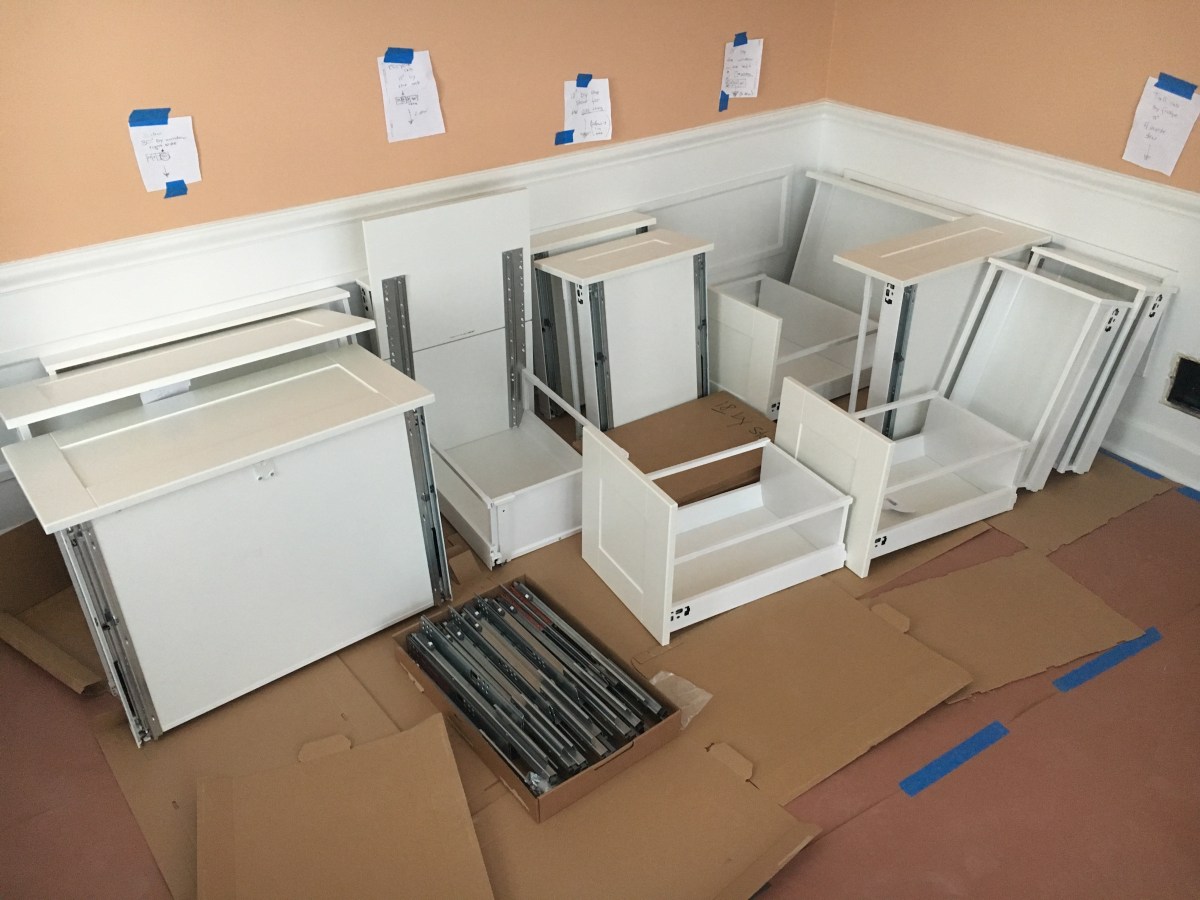
When the kitchen arrived in a million little pieces, I mean boxes, we felt a bit overwhelmed. We also realized that in the construction mess we lost the original print out from IKEA, which had everything nicely broken down (which box goes with which). We went back to IKEA and they were nice enough to reprint for us the break down, and then the assembly craziness started. IKEA is akin to Lego for grown-ups. It took us an entire weekend and some evenings to put every cabinet and drawer together (I would say around 30 hours to put all the pieces together), but once we assembled a couple of pieces, the rest was easy. We also keep everything organized until it was time to install.

At first, we weren’t sure if we should hire someone to install our kitchen or whether we should do it ourselves. I found a couple of YouTube tutorials on how to install an IKEA kitchen, showed them to my husband who then shared the tricks with my father-in-law and we were ready to install.

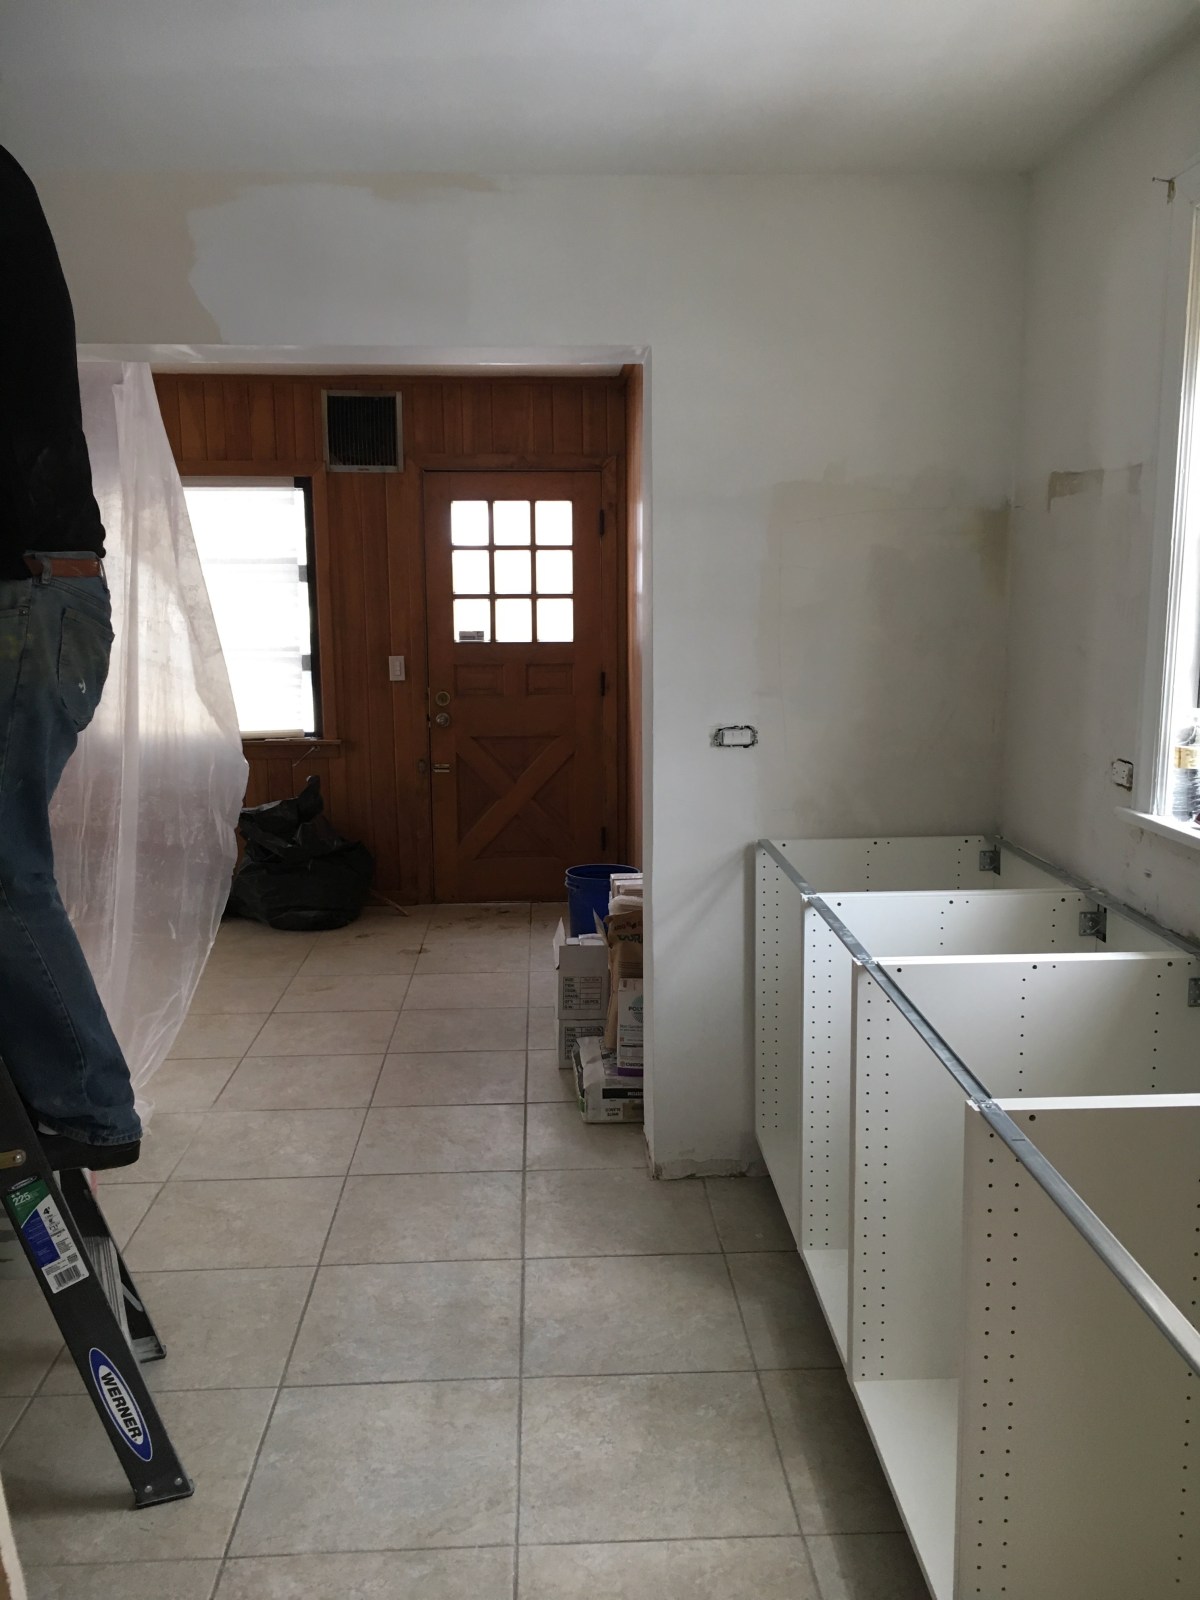
We used the legs that were recommended and we also used the wall mounting strips for all cabinets. The installation was also relative easy, and I think the hardest part of the entire process was leveling.

The kitchen leveling process was one of those things we didn’t take into much consideration before the assembly of the kitchen. As the kitchen was getting torn down and rebuilt again, it began to be apparent that George doesn’t exactly have perfectly level features. We’d thought that mounting the kitchen cabinets would just literally be mounting each of the kitchen cabinets on the steel wall attachment and adjusting the black plastic legs on the bottom to ensure there is some tension on the load. However, upon further inspection, we realized the floor of the kitchen was not perfectly level and neither were the walls and therefore, the steel wall attachment which holds the bottom kitchen cabinets would not be able to be mounted perfectly level on the walls. We had to account for the differences and try to mount the steel wall attachment at a slight angle. The upside to this method is that we could use the black plastic legs to then adjust each individual cabinet to ensure there are no serious gaps between the hanging kitchen cabinet and the floor. In the end, these types of unforeseen circumstances during the kitchen assembly process added a lot of time and planning to the overall execution of rebuilding the kitchen.
We survived.
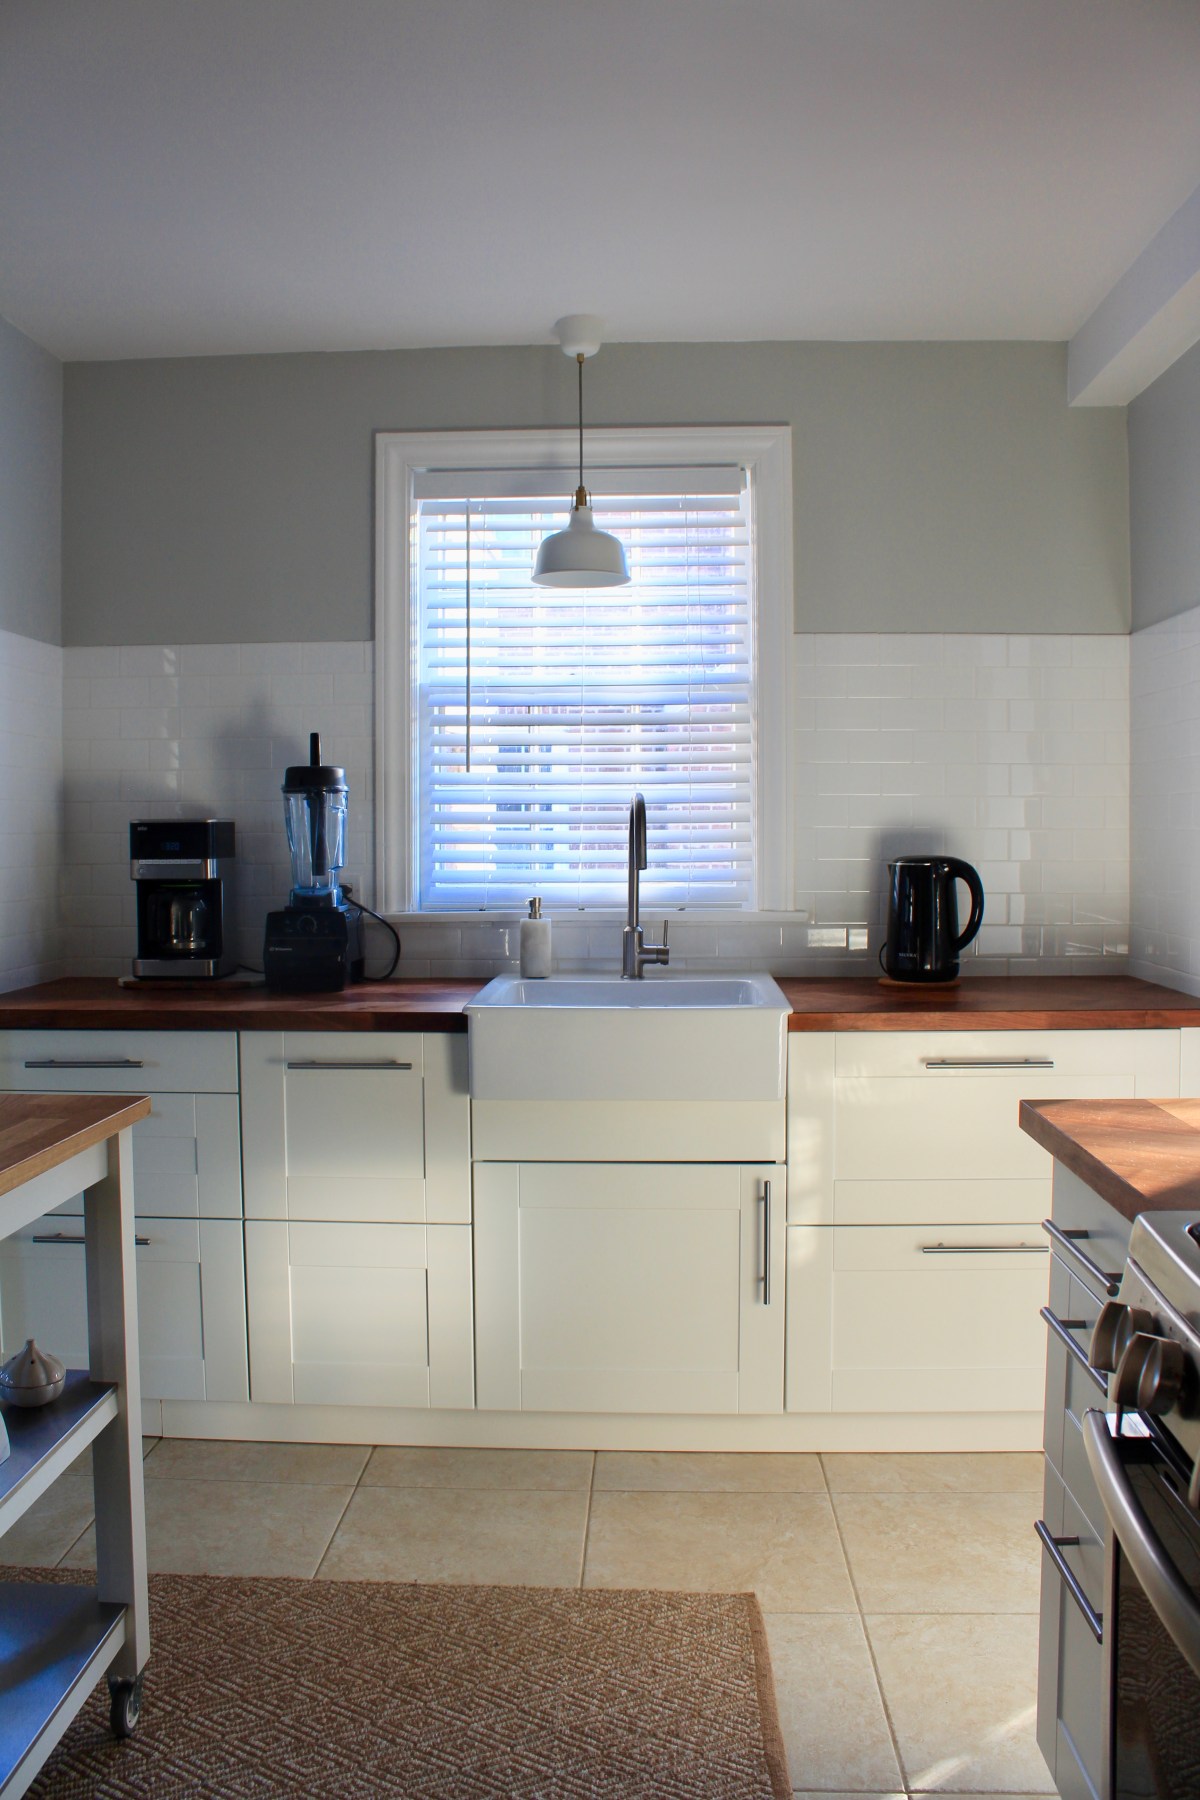
Our kitchen today. Clean and simple. I will share more pictures in my next post.
